Our Location
304 North Cardinal St.
Dorchester Center, MA 02124
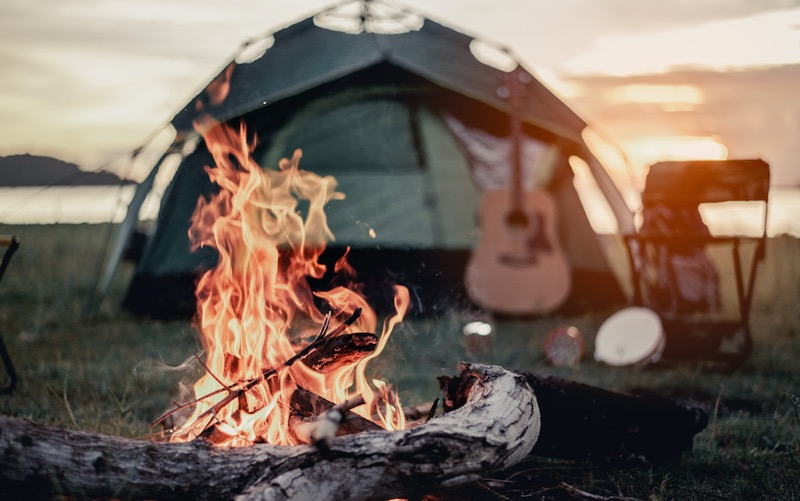
A campfire is more than just flames dancing in the night—it’s the heart of every great camping trip. It’s where stories are told, marshmallows are roasted, and warmth is shared. But how do you build a campfire that’s both safe and effective? Whether you’re setting up in a developed campsite or deep in the backcountry, this guide will walk you through the essentials, from choosing a fire pit to extinguishing your fire properly.
Before striking a match, the first step is knowing how to build a campfire pit or find an existing one.
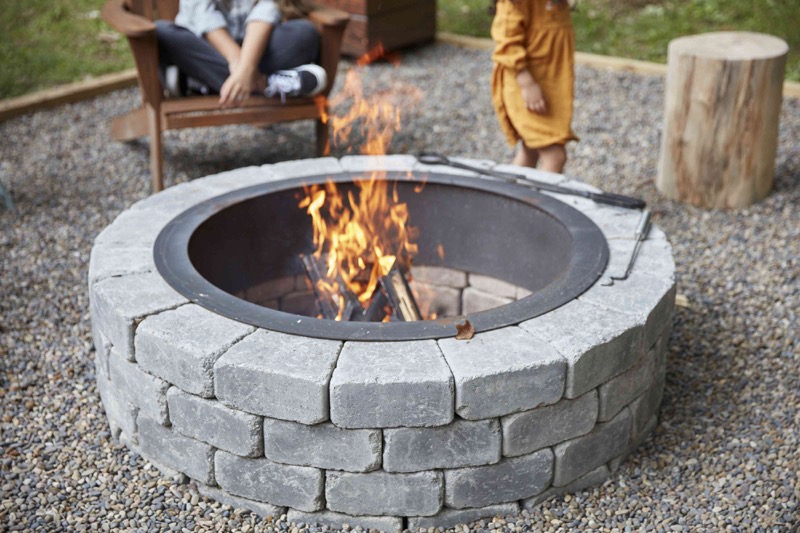
Most campgrounds provide designated fire rings, grills, or fireplaces. These are designed to contain flames, making fires safer and reducing environmental impact. Always confirm with the campground whether fires are allowed, as restrictions can vary due to dry weather conditions.
If no fire ring is available, you might wonder, “How do I build a fire pit?” The answer depends on the location. In undeveloped areas, check regulations—you may need a campfire permit. If the terrain is brushy or covered with low-hanging branches, avoid making a fire altogether, as stray embers can lead to wildfires.
When camping in remote areas, use existing fire rings whenever possible. If none exist, only create a campfire in emergencies, and dismantle it afterward.
To make a temporary fire pit, clear a 10-foot radius around your fire area, removing all flammable materials. A good firebase consists of sand, gravel, or mineral soil. Avoid making fires directly on healthy soil, as intense heat can sterilize the ground.
An alternative is a mound fire, which involves placing a raised platform of mineral soil on a rock surface. This method minimizes impact and is easy to remove once you’re done.
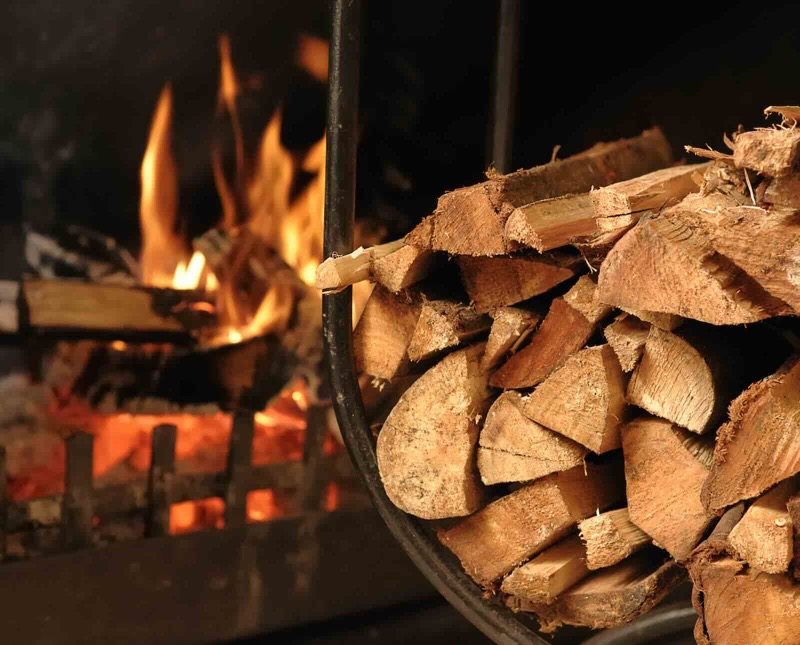
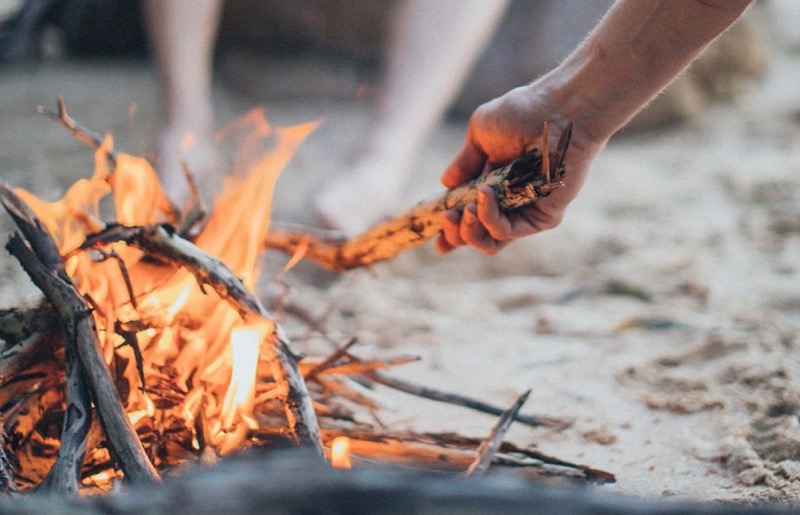
A well-built fire needs three types of fuel:
Most campgrounds require campers to use only local firewood to prevent the spread of invasive insects. Many sell firewood on-site or nearby, so check with a ranger before bringing your own. In some places, bringing firewood from over 50 miles away is strictly prohibited due to the risk of transporting tree-killing pests.
If you’re foraging for wood, follow the golden rule: never cut from live trees. Only collect downed wood that’s scattered and dry. Avoid burning logs thicker than your wrist, as they don’t fully combust and can leave unsightly charred remains.
By following these Leave No Trace principles, you’ll ensure the wilderness stays beautiful for future adventurers.
Now that you have your firewood, it’s time to learn how to make campfire structures that burn efficiently. Here are three reliable methods:
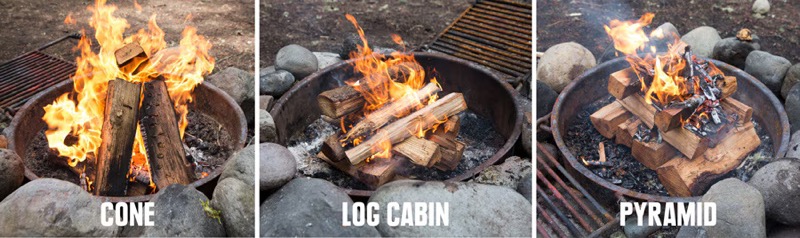
Each of these methods has its advantages, depending on your needs. The cone method is great for quick warmth, the log cabin burns evenly, and the pyramid requires little maintenance.
")
")
")
")
Now for the fun part—bringing your fire to life!
Having trouble lighting a fire? Carry waterproof matches or a fire-starting kit—both are considered camping essentials for survival.
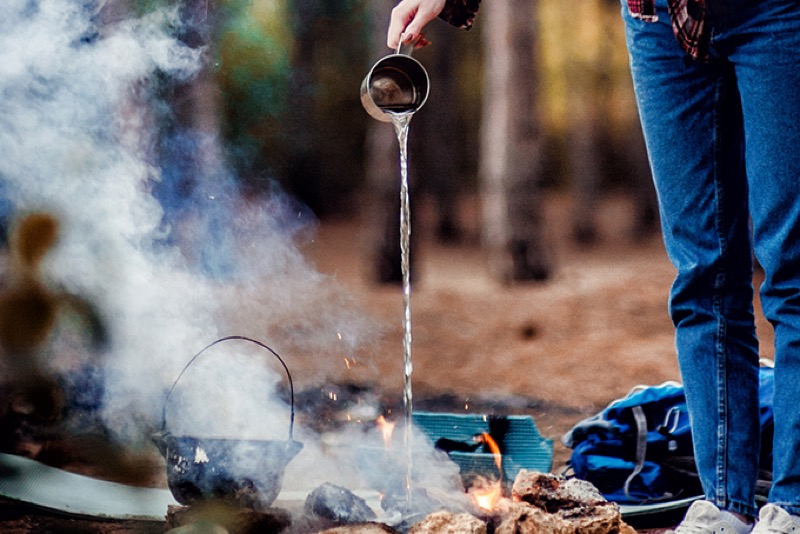
Knowing how to put out a fire is just as important as knowing how to build a fire pit. Follow these steps to ensure your fire is completely out:
A fire should be cold enough to touch before leaving your site. Never leave a campfire unattended!
A responsible camper always leaves no trace. Follow these cleanup steps:
By following these steps, you’ll preserve the environment while ensuring future campers can enjoy the same pristine setting.
Learning how to make a fire pit or how do you build a fire pit isn’t just about survival—it’s about tradition, warmth, and connection. Whether you’re crafting a campfire pit for a cozy evening or an outdoor fire pit for a backyard gathering, knowing the proper techniques will make your fire-building experience safe and enjoyable.
So next time you’re in the wilderness, armed with tinder, kindling, and firewood, take a moment to appreciate the magic of the flames. Because when done right, a campfire isn’t just light—it’s life.
I never knew about the upside-down pyramid method before! Looks like a game changer for those long nights when I don’t want to babysit the fire.
Appreciate the reminder about using local firewood to prevent pests—so many people forget this and it’s super important for forest health.
I’m new to backcountry camping, and this guide makes me feel way more confident about having a safe and controlled fire when needed. Thanks for making it clear and easy to follow!
I’ve always done the teepee method but now I’m curious to try the log cabin style. Looks like it would burn more evenly!
This makes me want to plan a camping trip just to try out these techniques! Also, love how it balances fun and safety—definitely sharing with my hiking group.
Super helpful breakdown of tinder, kindling, and firewood. I used to think any dry stick would work but now I see there’s actually a smart way to layer the fire.
Absolutely love the eco-conscious tips, especially about not making fires directly on healthy soil. We need more content like this to promote responsible camping!
Great reminder about fully extinguishing the fire. So many times people think just covering it with dirt is enough—thanks for stressing the importance of cold-to-touch ashes!
This is hands down the most detailed campfire guide I’ve ever read! Love how it covers both beginners and seasoned campers—definitely bookmarking this for my next trip.
The step-by-step approach makes it feel so doable, even for someone like me who’s always struggled with making a proper fire.